

How to Give Yourself a Subcutaneous Injection (SQ) at Home
A guide from the medical team at Skin by Deep Roots Medspa, serving Austin and Cedar Park, TX
Whether you’re starting a peptide therapy, weight loss medication, hormone treatment, or other wellness protocol, giving yourself a subcutaneous (SQ) injection can feel intimidating at first. The good news? It’s quick, safe, and easy once you’ve done it a few times. Here’s a step-by-step guide to help you feel confident and prepared.
What Is a Subcutaneous Injection?
A subcutaneous (SQ) injection delivers medication into the layer of fat between your skin and muscle. This method allows for slow, steady absorption, perfect for medications like peptides, hormones, or weight loss therapies.
Supplies You’ll Need:
Medication vial
Sterile syringe with needle
Alcohol wipes
Sharps container or puncture-proof disposal
Cotton ball or gauze (optional)
Step 1: Wash Your Hands
Start with clean, dry hands to reduce infection risk.
Step 2: Gather Your Supplies
Set up everything on a clean, flat surface. Make sure your syringe is the correct size and the medication is not expired.
Step 3: Drawing Up Medication from a Vial
1. Clean the vial
Wipe the rubber top with an alcohol swab and let it air dry.
2. Prepare your syringe
Remove the syringe from its packaging.
Pull back the plunger to draw in air equal to your dose (e.g., 10 units of air for a 10 unit dose).
3. Insert needle into the vial
Push the needle through the center of the rubber stopper.
Inject the air into the vial (into the air space above the liquid—not directly into the medication). This prevents a vacuum from forming.

Why draw air first?
Drawing air into the syringe first (equal to the dose you’ll withdraw) allows you to inject that air into the vial to equalize the pressure.
This makes it much easier to draw the correct amount of liquid medication, especially from a sealed, rubber-stoppered vial.
4. Draw up your dose
Invert the vial so the liquid pools near the stopper.
Slowly pull back the plunger until you reach your prescribed dose.
Check for large air bubbles—tap the syringe gently to release them and adjust the dose if needed.

Quick Tip: Keep the vial upside down and the needle tip fully in the liquid. Pull back the plunger slowly and keep it steady—the top of the black rubber plunger (not the curved end) should line up with your exact dose mark.

Quick Tip: Got bubbles? Tap the syringe gently with your finger to bring air bubbles to the top, then push the plunger slightly to release them. Always double-check your dose afterward.
5. Remove the needle carefully
Flip the vial back upright and withdraw the needle straight out.
Recap the needle if appropriate or move straight to injection if you’re using a one-time-use setup.
Note: If you're reusing a multi-dose vial, always store it according to instructions—usually in the fridge.
Step 4: Injecting SQ Step-by-Step
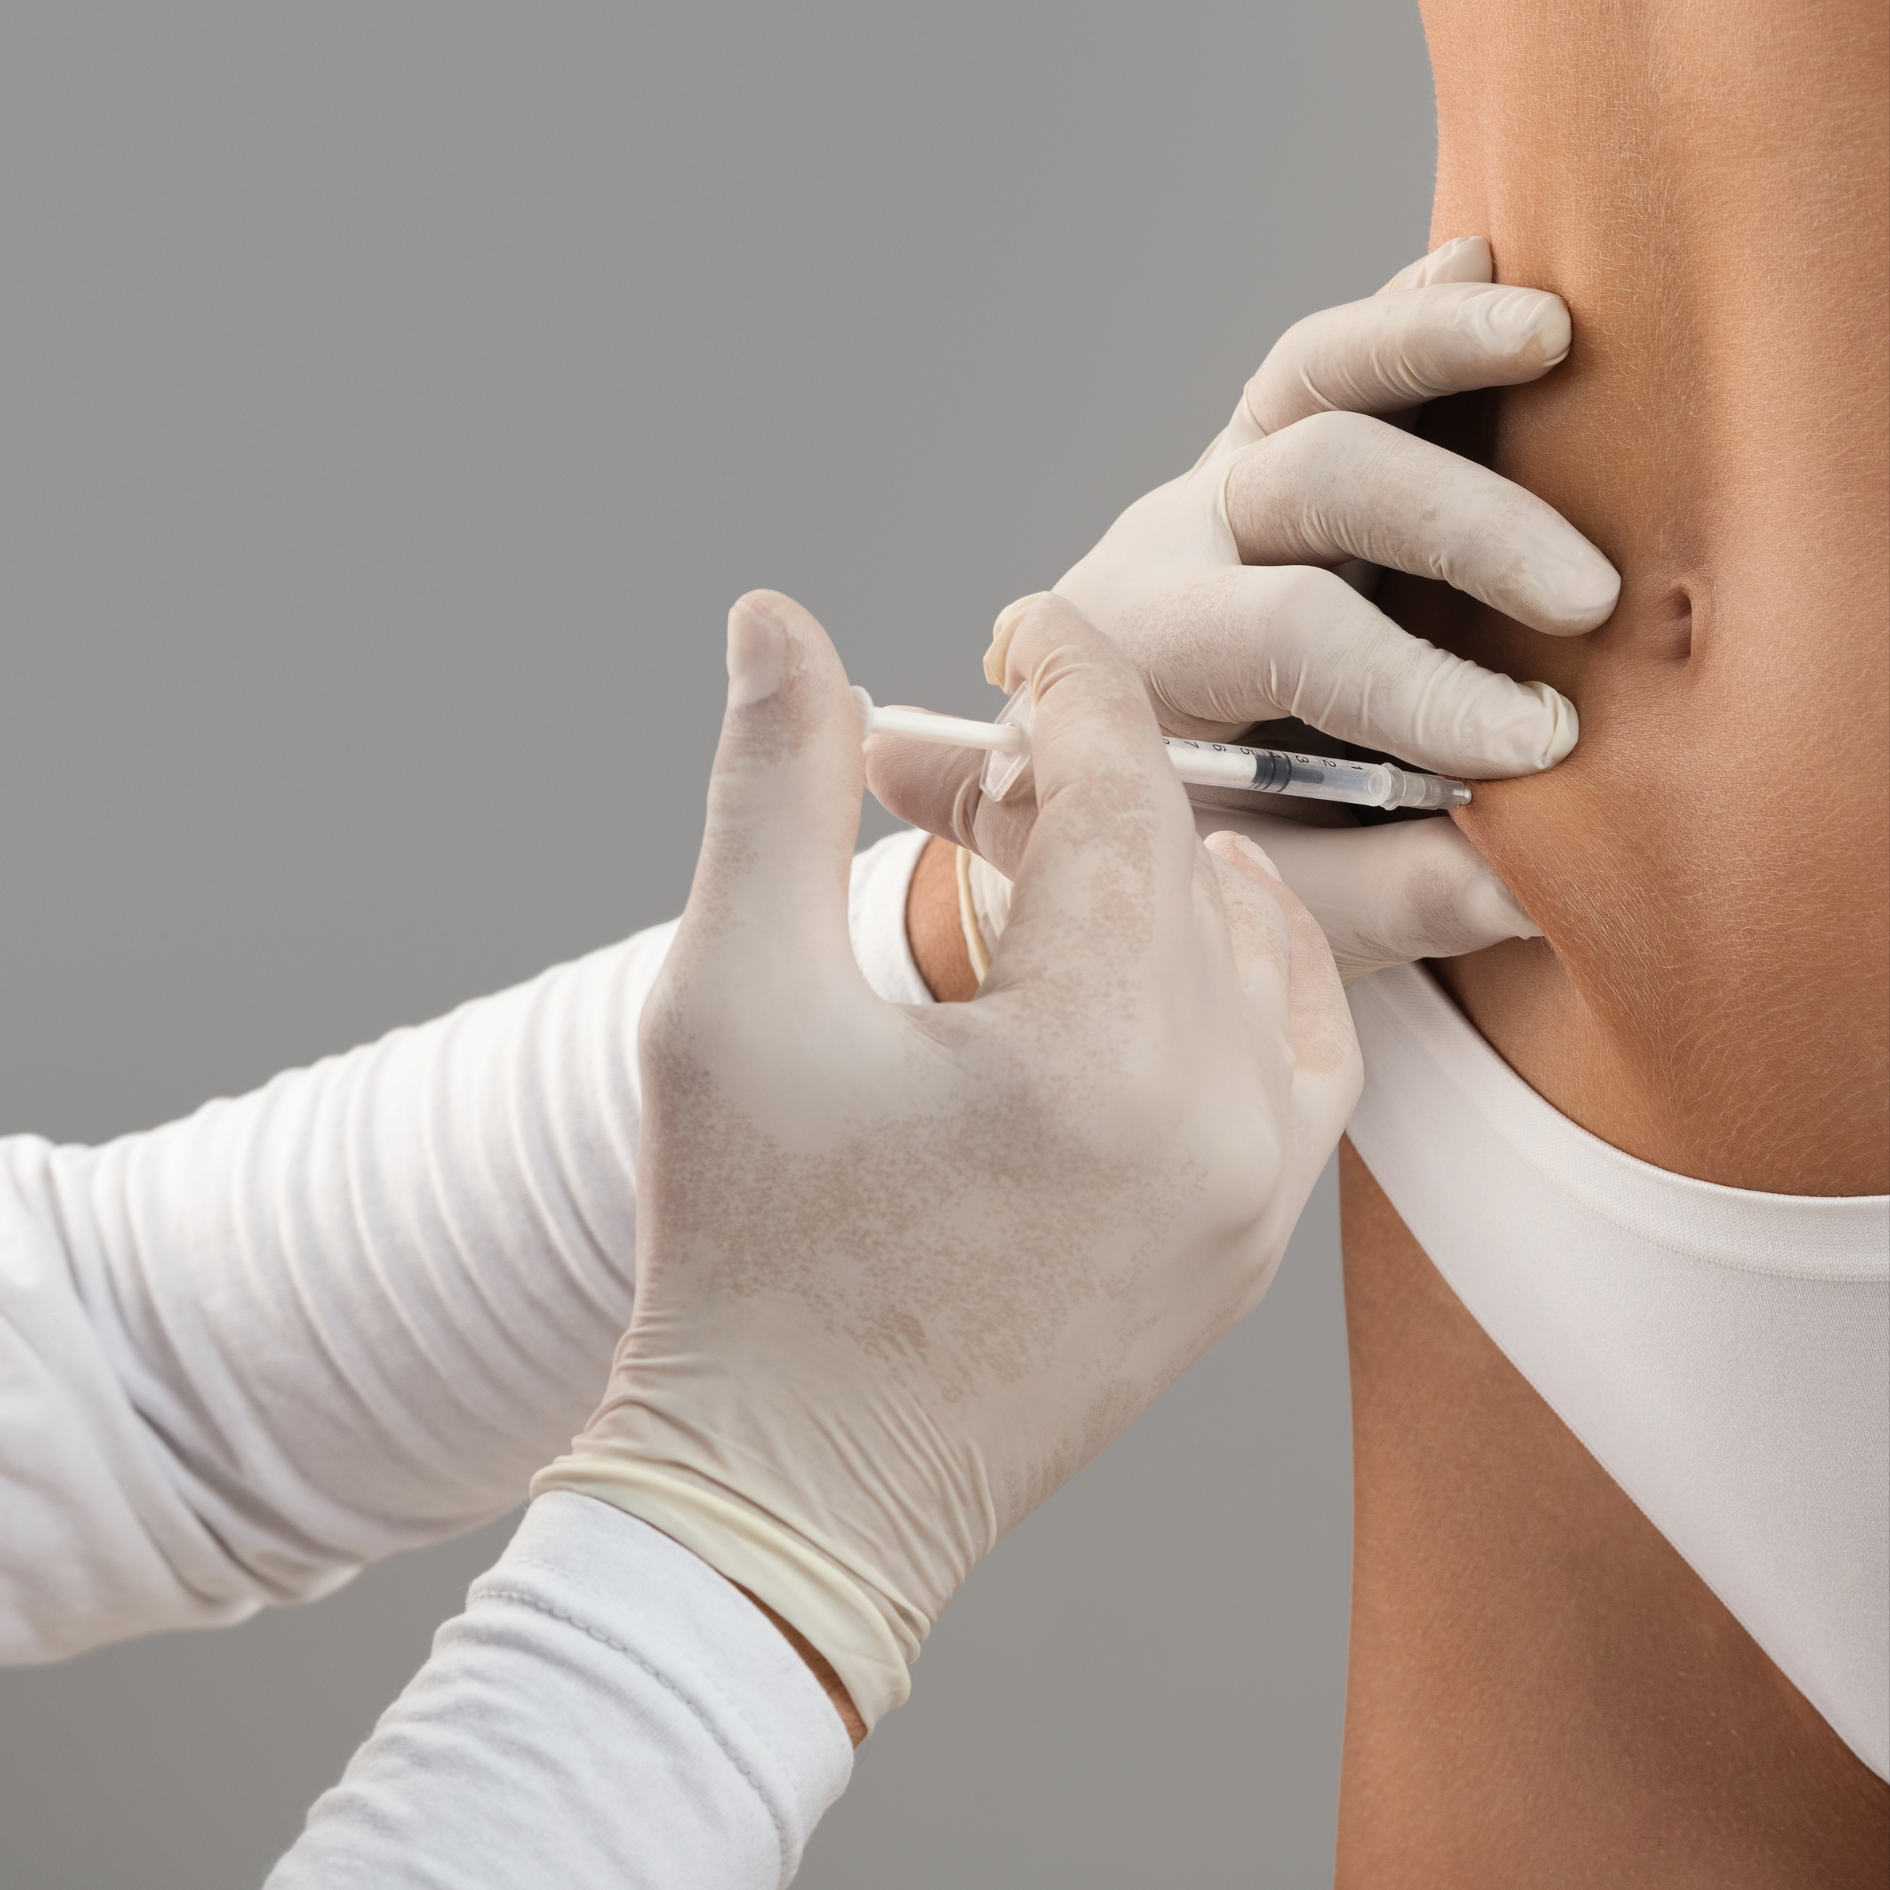
1. Choose Your Injection Site
Rotate between these common SQ injection areas:
Abdomen (avoid 2" around the belly button)
Thigh (front or outer area)
Upper Buttock
Pinch up a small fold of skin to avoid injecting into muscle.

Quick Tip: Choose a spot with pinchable fat—like your lower belly (at least 2 inches from your belly button), outer thigh. Rotate sites each time to avoid irritation or lumps.
2. Clean the Site
Use an alcohol swab and let it dry completely.
3. Inject the Medication
Hold the syringe like a pencil at a 45° to 90° angle depending on needle length and skin thickness.
Insert the needle in one smooth motion.
Press the plunger slowly and steadily.
Remove the needle and dispose of it immediately in a sharps container.
Note: If there’s any bleeding, it should be very minor. You may notice a little bruising later. This is common and nothing to be concerned about.

Quick Tip: Pinch the skin, insert the needle at a 45°–90° angle, and inject slowly and steadily. Stay relaxed—tension makes it sting more than it should.
Tips for Success:
Stay relaxed—tension can make injections more uncomfortable.
Rotate sites to avoid irritation or lumps.
Store medication properly and follow expiration guidelines.
Dispose of sharps safely. Never toss needles in the trash.
When to Call Your Provider:
Redness, swelling, or pain at the injection site that doesn’t improve
Unsure about dosage or technique
You’ve Got This.
Injecting at home might seem daunting, but with practice, it becomes second nature. Our team is always here to support you—don’t hesitate to reach out if you need a demo or have questions.